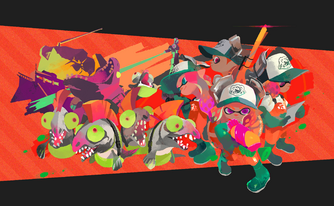
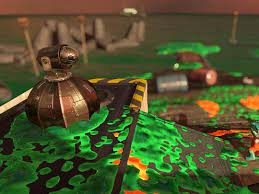
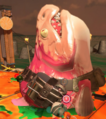
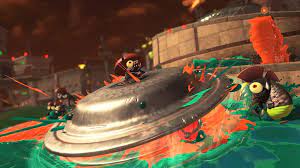
To the left is some concept art for Splatoon 2's salmon run
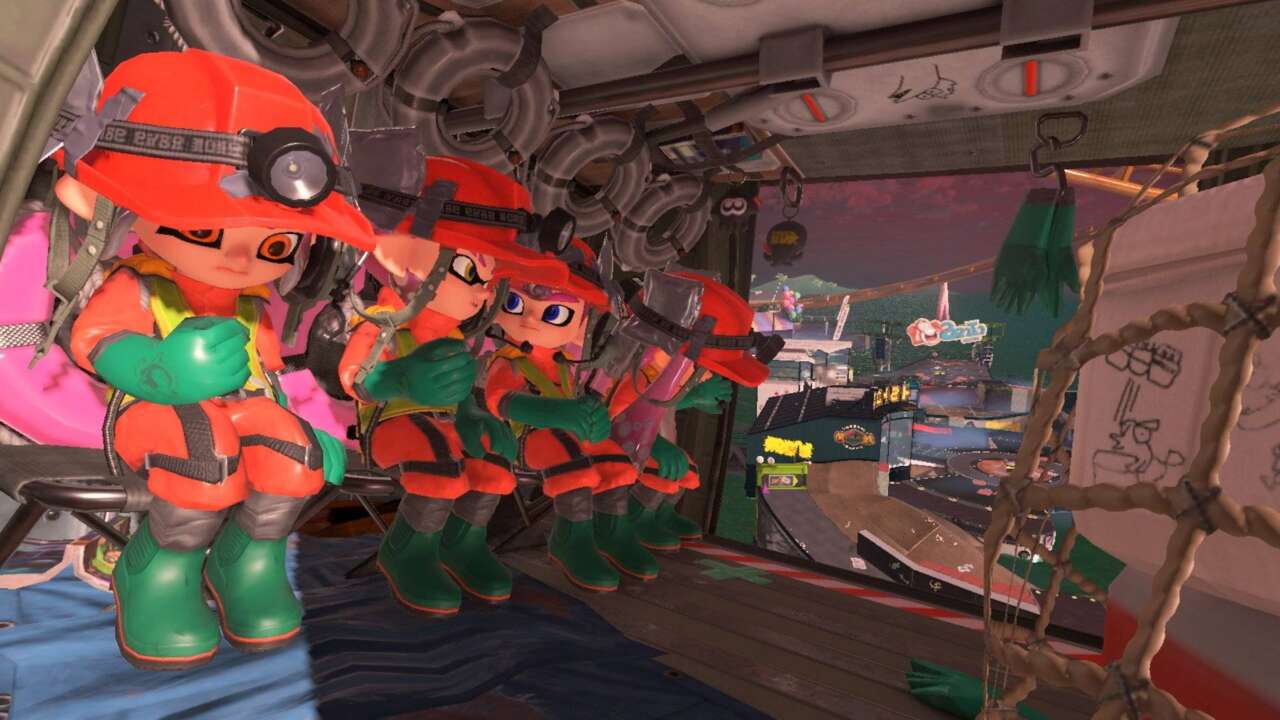
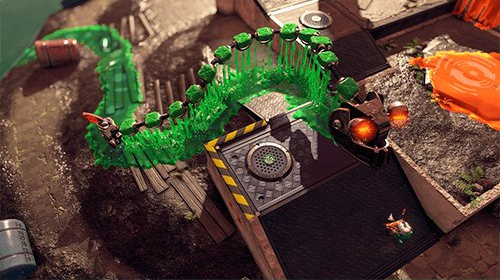
To the right is the main entry scene for playing Salmon Run, different compared to Splatoon 2's Salmon, which jumps you into the stage with a boat
To the left is some concept art for Splatoon 2's salmon run
To the right is the main entry scene for playing Salmon Run, different compared to Splatoon 2's Salmon, which jumps you into the stage with a boat
Splatoon 2's Salmon run, also the first time Salmon Run was added in a Splatoon game, added the option for players to explore a more horde-based gamemode instead of the traditional 4v4 matches. With 3 waves, each having 100 seconds, you must collect as many eggs as possible, which spawn by defeating a boss salmonoid, while avoiding the wipeout of your 4-person team and gaining enough eggs to fill the quota, which must be filled before time runs out before its game over. You start out with the rank "Apprentice." This is the lowest rank possible, and also has the easiest time because of the low egg quota and less bosses spawning. Of course, with each shift completed, your pay grade will increase and so does your rank. This determines how high the hazard level is, or just how difficult it will be to survive and collect enough eggs before time runs out. Each time you win a Salmon Run shift, your pay grade will increase by 20. Losing on wave 1 will decrease this by 20, losing on wave 2 will decrease this by 10, and losing on wave 3 won't decrease it at all (unless a communication error occurs, then the rank will always decrease by 20.)
Upon entering the game, you will spawn close to where the egg basket spawns when the tide is high or regular. The egg basket is, of course, where you drop off the eggs you collect upon defeating a boss salmonoid and collecting a golden egg; only one egg can be held per player, so drop it off as quickly as possible. There are three possible tides, which can either help your performance or hinder in: regular, high, and low. Low tide gives you more space to work, high gives you less space and is often the most difficult to deal with, and regular gives no feedback at all. There is also the possibility for special waves to occur, which include the following(splatoon 2): goldie, griller, glowflies, mothership, and cohocks. When the wave begins, a random boss salmonoid will spawn; these are special salmonoids that have certain abilities and a special way to splat them. With the boss salmonoids will come hordes of regular salmonoids, with three types specifically: smallfry, cohock, and chum. These spawn more often that the boss salmonoids and will swarm you and your teammates, but the chum and smallfry are easy to splat, while the cohocks are more tanky, with health close to a boss salmonoids.
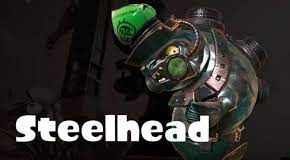
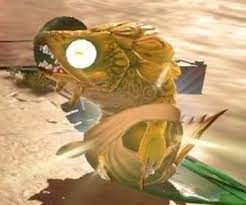
The steelhead with launch large bombs at you from the top of its head. It will come closer to the nearest player, since it only has limited range on throwing the bombs at you. When it is charging the bomb, you will see it on its head, and while it is charging is your time to strike. Shoot your ink at it and when its health is depleted, it will explode in your ink color and drop 3 eggs. The steelhead's health is much less than another boss's, around 250 compared to the 500. This is probably because of the window of time to actually splat it before the bomb disappears and you can't defeat it until the next opportunity. Can also be splatted by certain specials. To the right is an image of a steelhead charging its bomb attack.
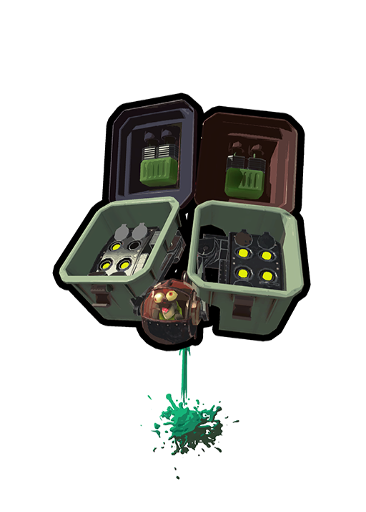
The flyfish is one of the most hated bosses among Salmon Run Players. they will hang around the shore of the map and will launch tenta missiles at random players. To splat it, you throw one bomb into each of its two containers. This will cause the container used to launch the missiles to fall, and once the second one has fallen it will fall to the land, creating a small explosion and dropping three golden eggs. Bombs aren't the only option here, though, because certain specials can splat it, along with using certain weapons likethe explosher on the two containers. To the right is an image of the flyfish preparing its tenta missiles.
The steel eel will spawn at the shore of the map and make its way towards a randomly selected player, chasing them until it gets splatted. At the tail of this long snake-like creature is the pilot controlling the machine. Taking this out will drop the three eggs and will explode the eel from the tail. It takes a bit for the metal to be complately splatted, and running into it while it is exploding will still harm you. To the right is a steel eel chasing after an inkling.
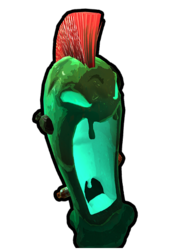
The drizzler will float on an umbrella to a random location, moving closer if no player is there. While it is floating, you can hit the salmonoid, but when it hits the ground, it will be protected by the umbrella. It will launch small, floating torpedo-like objects that, when left for a few seconds, become ink storms, harmful to the team and sometimes deadly if you can't get out of it in time or are weakened. Inking the boss when it is exposed while launching the storms will decrease its health, and when it is completely decreased, will explode, dropping 3 golden eggs. If you hit the torpedo with your ink will launch it, and if it hits the drizzler, will one-hit it. To the right is a drizzler hiding within its metal brella, surrounded by ink left by its ink storm attacks.
The stinger is another hated boss. While it is easy to splat, letting it hang around can be very detrimental to your efforts. It will spawn around the shore of the map, and will stand still for a while before firing a sting ray, targeting a random player through the walls. To splat this boss, find it and ink at the pans keeping it up. These will lower the stinger until it reaches the ground, exploding and dropping three golden eggs. Bombs can help to splat it with its longer blast radius, and specials can help too. To the right is a stinger preparing a sting ray attack.
the scrapper, while one of the easier bosses to take care of, can be somewhat frustrating too if its weak spot is difficult to reach because of regular salmonoids. often accompanied by regular salmonoids, the scrapper will spawn by the shore and immediately rush towards one of the players, often random or, when it becomes operational again, the closest player to it. You can stop it by shooting ink at its shield, which will ecentually run it down and make it fix itself. During this time, you can move to its back, where the salmonoid is unprotected, and ink it to splat the creature, dropping 3 eggs wherever it was splatted. Splatting these close to the egg basket will make things for you and your teammates. To the right is a scrapper charging behind its shielded vehicle.
Maws is another easier splat, so long as you aren't too distracted. it will spawn on shore and immediately target a random player, possibly the one closest to its spawning point. When you see it in this form, it will be a small fishing bobber. Stand still for a few seconds, letting it catch up to you. It will spawn a small circle, before the bobber goes under and it attacks you from below. Being inside the circle will splat you in one hit, but being too close to it may also get you splatted. Once its above the surface, it will quickly emerge in the ink again, appearing as a bobber. While it is above the surface, you can either shoot it with ink or throw a bomb in the circle, causing maws to eat it and get immediately splatted, dropping three eggs. To the right is an image of maws out of its ink.
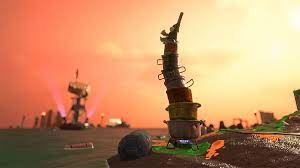
The fish stick can get very annoying, if not taken care of. It will spawn flying in the air, until finding a random spot to land, installing its stake into the land before spinning around, throwing enemy ink everywhere. Climbing the pole and inking the small creatures will one hit each of them, but, if your weapon has enough range, can ink them from the level ground. Maws, flyfish, and stinger can still splat you while you have climbed the pole, so don't get distracted. To the right is an image of the fish stick holding the stake it uses to fly in circles, spraying ink everywhere.
The big shot is both detrimental and helpful to you. It will spawn its cannon first, around the map's shore, before emerging from the water. This is the time to shoot it with your ink, before it goes back into the water to retrieve more cannon balls. Once it reaches the cannon, it will launch the cannonball towards the egg basket, creating shockwaves based on how many times it hits the ground before breaking. Once the big shot is defeated, it will drop 3 eggs. You can use its cannon to launch faraway golden eggs towards the egg basket, where your teammates can place it into the basket. The cannon can and will save waves from ending. To the right is an image of the big shot with its cannon.
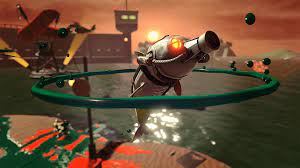
The Flipper-Flopper will jump towards a random players location, and ink the ground in a circle. Inking the circle within enough time will break its shield and allow you to splat it. Not splatting it in time will cause it to jump to another location, but with its shield down, you can splat it mid-air. Using specials can also splat it before its shield is down, along with certain grizco-weapons. To the right is a flipper flopper preparing to attack a random player.
The slammin' lid will spawn close to shore and immediately make its way close to a player. Once it stops, it generates a shield, spawning random salmonoids. To get it to drop, quickly go inside the shield and out. If done correctly, you won't be damaged and it will have dropped. Jump onto the boss and ink at the salmonoid on top until the lid drops, exploding and dropping three eggs. If there is a boss underneath the shield, like a steelhead, and it slams, it will immediately splat the boss or damage it. To the right is a slammin' lid on the ground.
The special modes in Salmon Run, often accompanied by the falling of night, will have something random happen. While some are easy to deal with, others are extremely difficult and could easily lead to the wipeout of your team. Here is a list of the special modes, and an explanation of the mode.
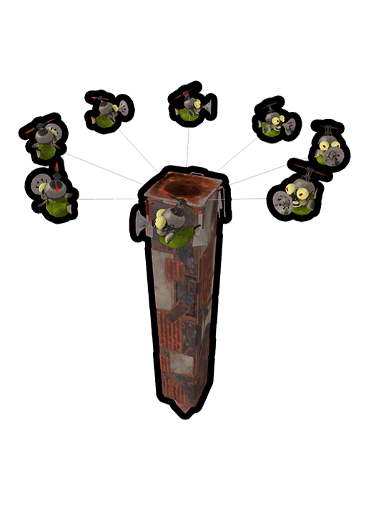
Special bosses will only spawn during nighttime, and the wave is announced by mr. grizz. Depending on the wave, a different boss will spawn. Here is a list of the special bosses, along with how to defeat them.
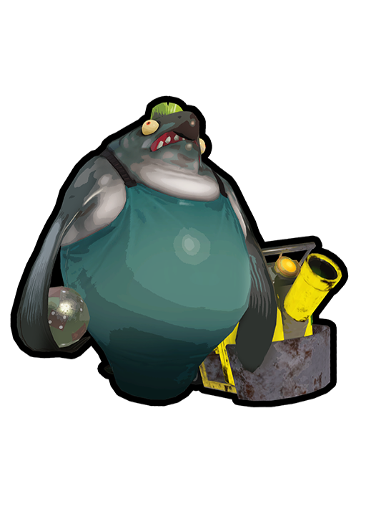
The Goldie is a special boss that appears during fog, goldie, and glowflies. It will move to a random player, and being close to it will cause it to swing its frying pan at you; it generally behaves like a chum, but defeating it will drop golden eggs. During fog, it can drop up to 10 eggs, and during glowflies will always drop 3 eggs. It will drop eggs as it gets hit during goldie, but will get smaller and faster as it gets hit more. Once it is completely defeated, it will drop 3 more eggs and disappear, hiding in another pipe. To the right is a goldie just spawning, holding its frying pan.
Grillers spawn during the griller wave, and target a random player upon spawning. The targeted player will have a red laser-pointer on their avatar leading to the griller. The ends of grillers have their weak spot, a red salmonoid tail. Ink this to eventually cause it to spin out and reveal more tails. Inking it more will eventually splat it, and it will drop 5 eggs upon being splatted.
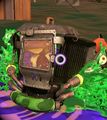
Only occuring in Splatoon 3, these bosses are generally easy to defeat. Throwing a bomb into its mouth will drop eggs, until it is finally defeated. Smallfry and chum will spawn out of its mouth, and cohocks will spawn when its a golden mudmouth. Golden mudmouths drop more eggs when it is defeated, 5, compared to the regular 3 eggs. To the right is a regular mudmouth; the golden mudmouth is a golden recolor of the original.
References:
Salmon Run for Splatoon 2: Inkipedia
Salmon Run for Splatoon 2:Fandom
Here are the current maps for Salmon Run
| Map | Release | Game |
|---|---|---|
| Sockeye Station | Splatoon 3 release | Splatoon 3 |
| Gone Fission Hydroplant | Splatoon 3 release | Splatoon 3 |
| Spawning Grounds | Splatoon 3 release | Splatoon 2, Splatoon 3 |
| Jammin' Salmon Junction | Sizzle Season 2023 | Splatoon 3 |
| Salmonoid Smokeyard | Drizzle Season 2023 | Splatoon 2, Splatoon 3 |
| Marooner's Bay | Chill Season 2022 | Splatoon 2, Splatoon 3 |